How to Hand Sew a Hem – Slip Stitch Tutorial
A slip stitch is a really useful stitch to know. I can be used to hand sew hems quickly and easily, but can also be used to hand finish collars, cuffs and waistbands. This slip stitch tutorial will help you to master this versatile stitch. Level up your sewing with some beautiful hand stitching.
Slip Stitch Video
If you’re the type of person who learns better by watching rather than reading, I have made a little video.
Slip Stitch Tutorial
Alternatively, here’s an illustrated guide for those of you who prefer written instructions:
Preparing our hem
To begin our hem we need to be working from the wrong side of the fabric that is the inside of our garment.

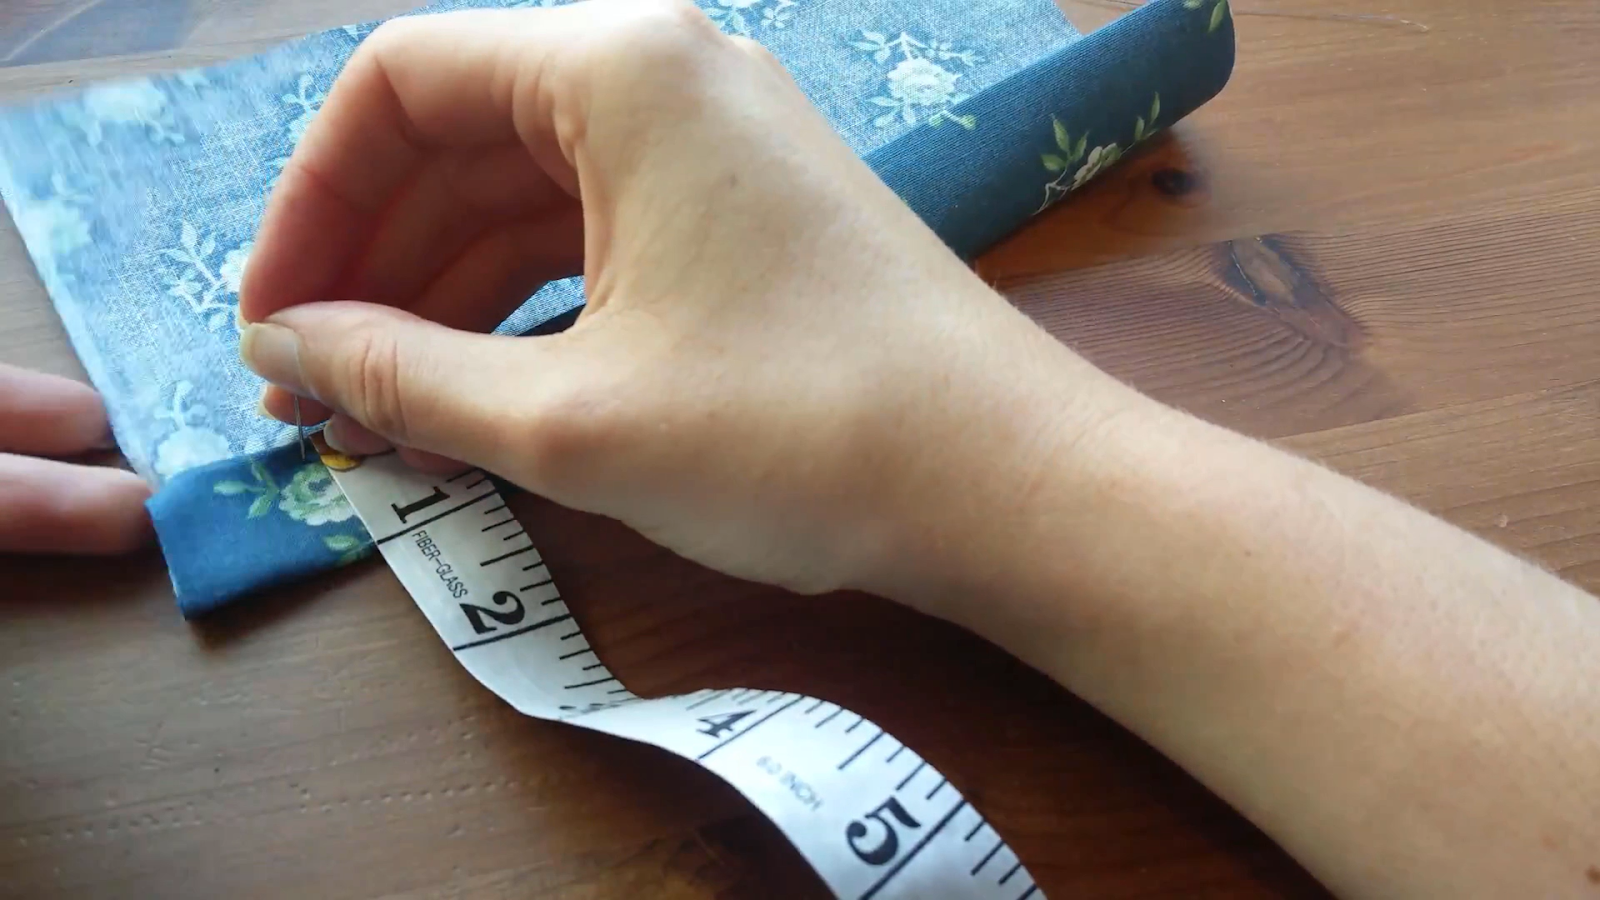
In this example I am doing a double fold one inch hem – turning up the raw edge 1-inch and then folding it up again another inch.
Folding the hem
I recommend doing your first fold the entire length of your garment before moving on to the second fold as this helps to make sure that the hem is even all the way around.

Turn the bottom edge of the garment up by one inch and crease the fold in place.
With the second fold, pin in the hem in place, making sure to leave enough space to iron between the pins.
Pressing the hem
Next, carefully press the hem in place avoiding the pins. This creates a sharp, crisp edge which will make the hem much easier to sew.

Thread the needle
There is nothing more frustrating when hand sewing than your thread mysteriously knotting of its own accord. This is because of the direction that the thread was spun in.

To avoid knots make sure to thread your needle before you cut your thread. That way you will be working with the natural twist of the thread not against it.
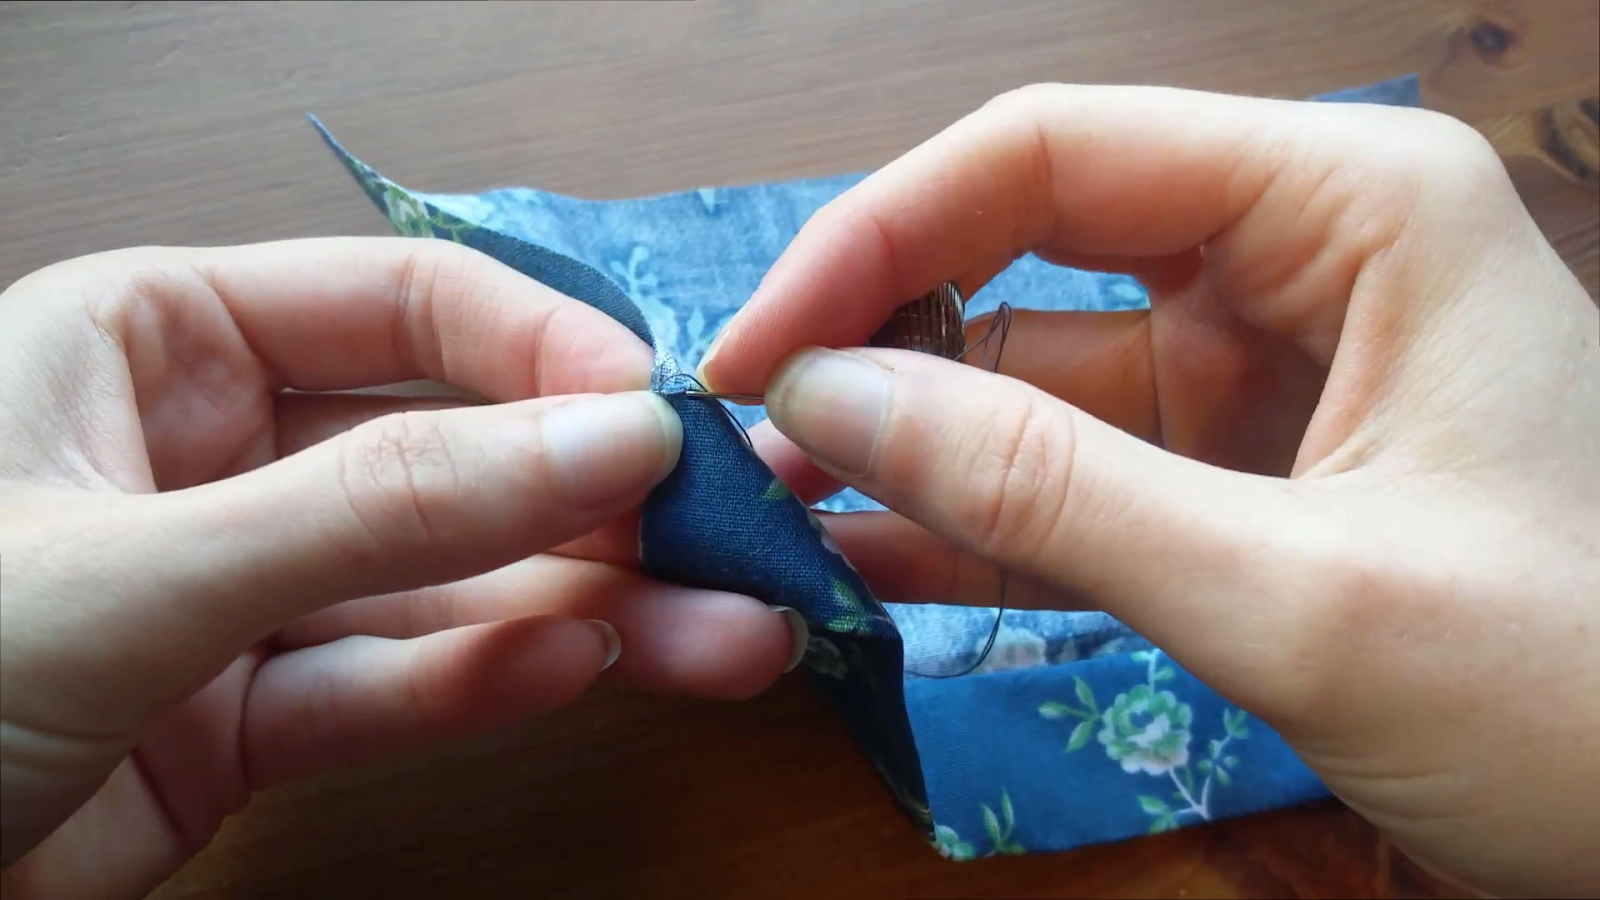
Starting off
I like to start my sewing without a knot by doing three small back stitches on top of each other.
For this hem I am working my back stitches at the top edge of the folded fabric of the hem. Make sure to only catch the fabric of the hem not the main part of your garment.
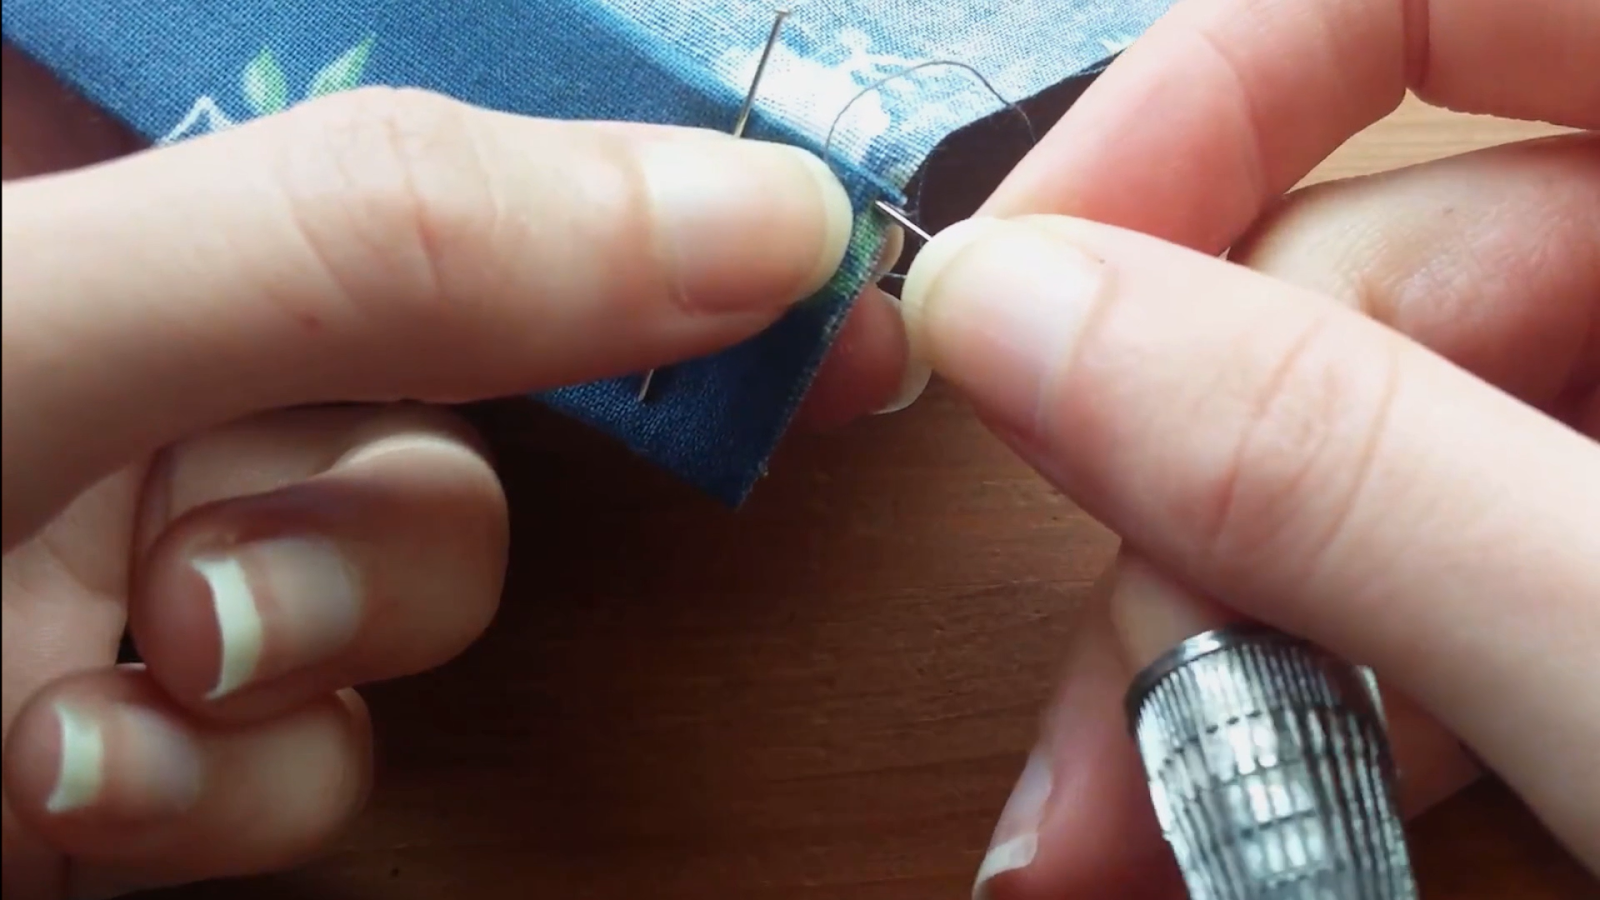
Working the slip stitch
To begin working the slip stitch, take a very small stitch from the main fabric of the garment only a few millimeters wide and a few millimeters from the starting point. 
The next stitch is worked along the crease of the top edge of the hem. Insert the needle a few millimeters on from the previous stitch and bring it up about 2 cm along the crease of the hem.
Then pull the thread tight to make sure the hem is held securely in place.
Repeat this process, fist taking a small stitch from the main fabric of the garment and then making a bigger stitch along the crease of the hem fold.
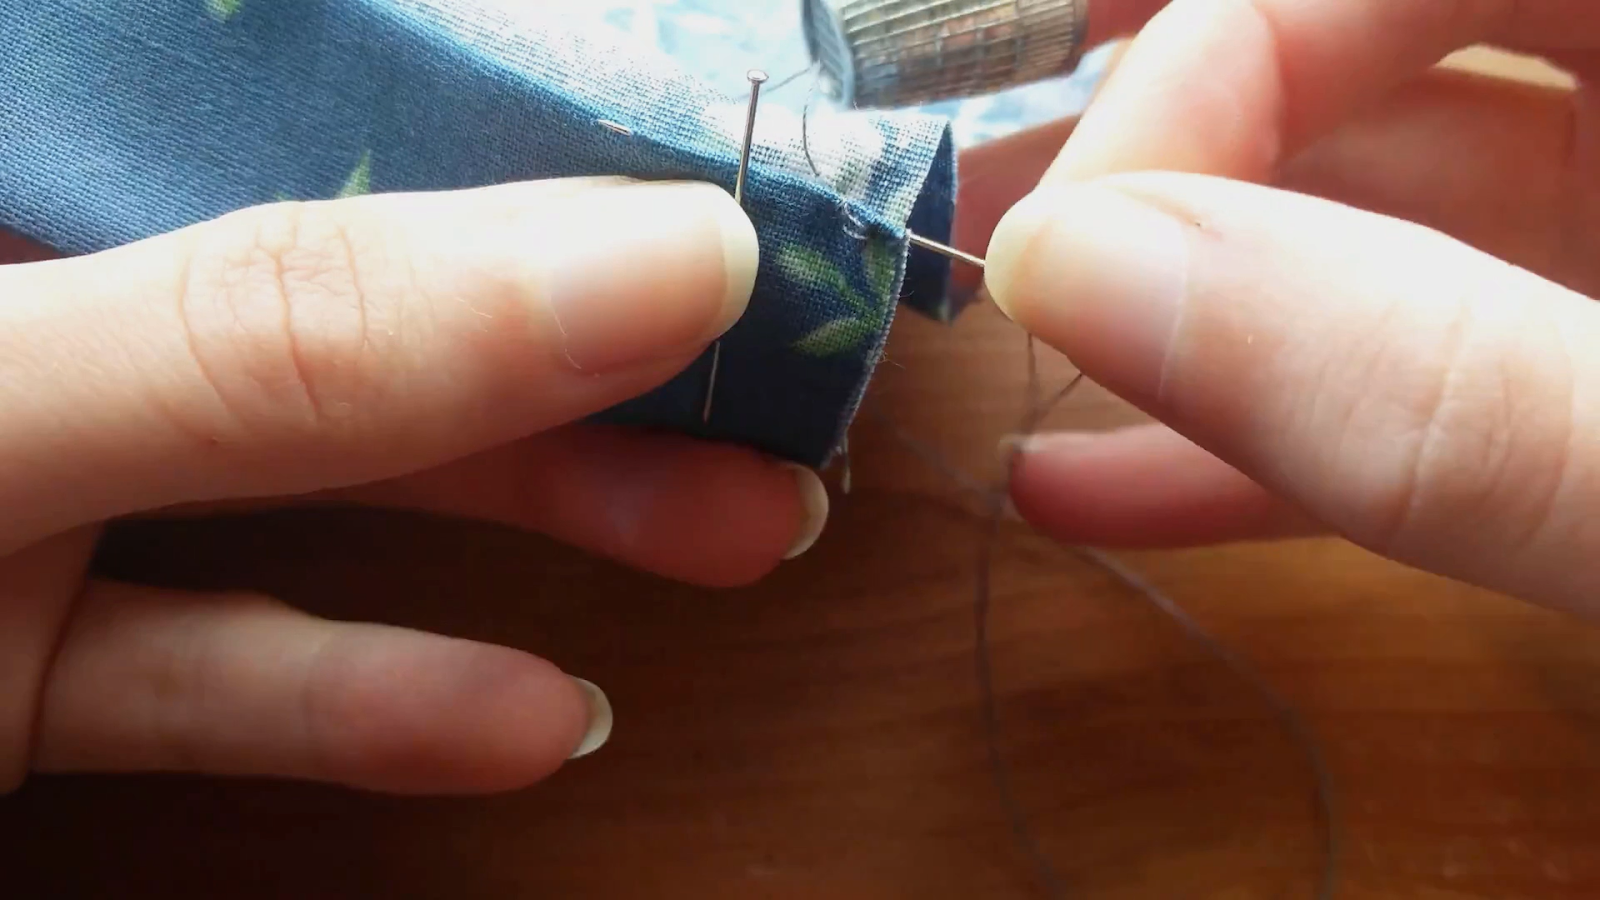
Both stitches at once
Alternatively this stitch can be worked in one motion by first catching the fabric of the main garment and then inserting the needle straight away into the crease of the hem fold.

This can take some practice to master so you may want to begin by working the stitch in two halves. You will want to work towards working the stitch in one motion as you get the hang of it as it makes the stitch much faster.
As you can see here you maneuver the needle into the hem crease whilst the fabric of the garment is still on the needle.
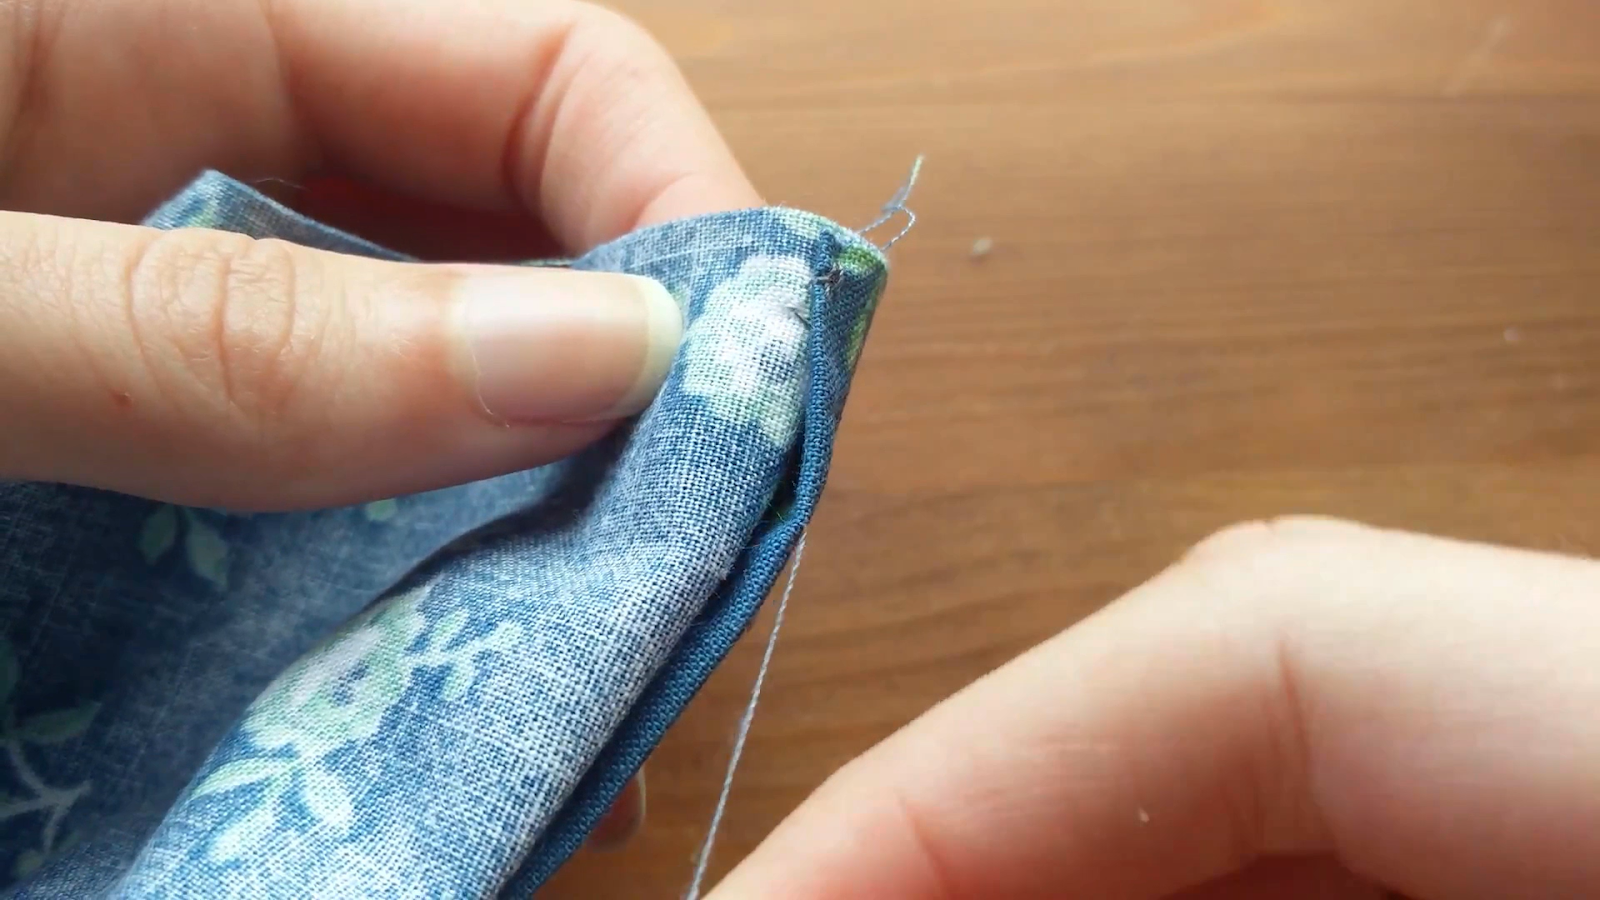
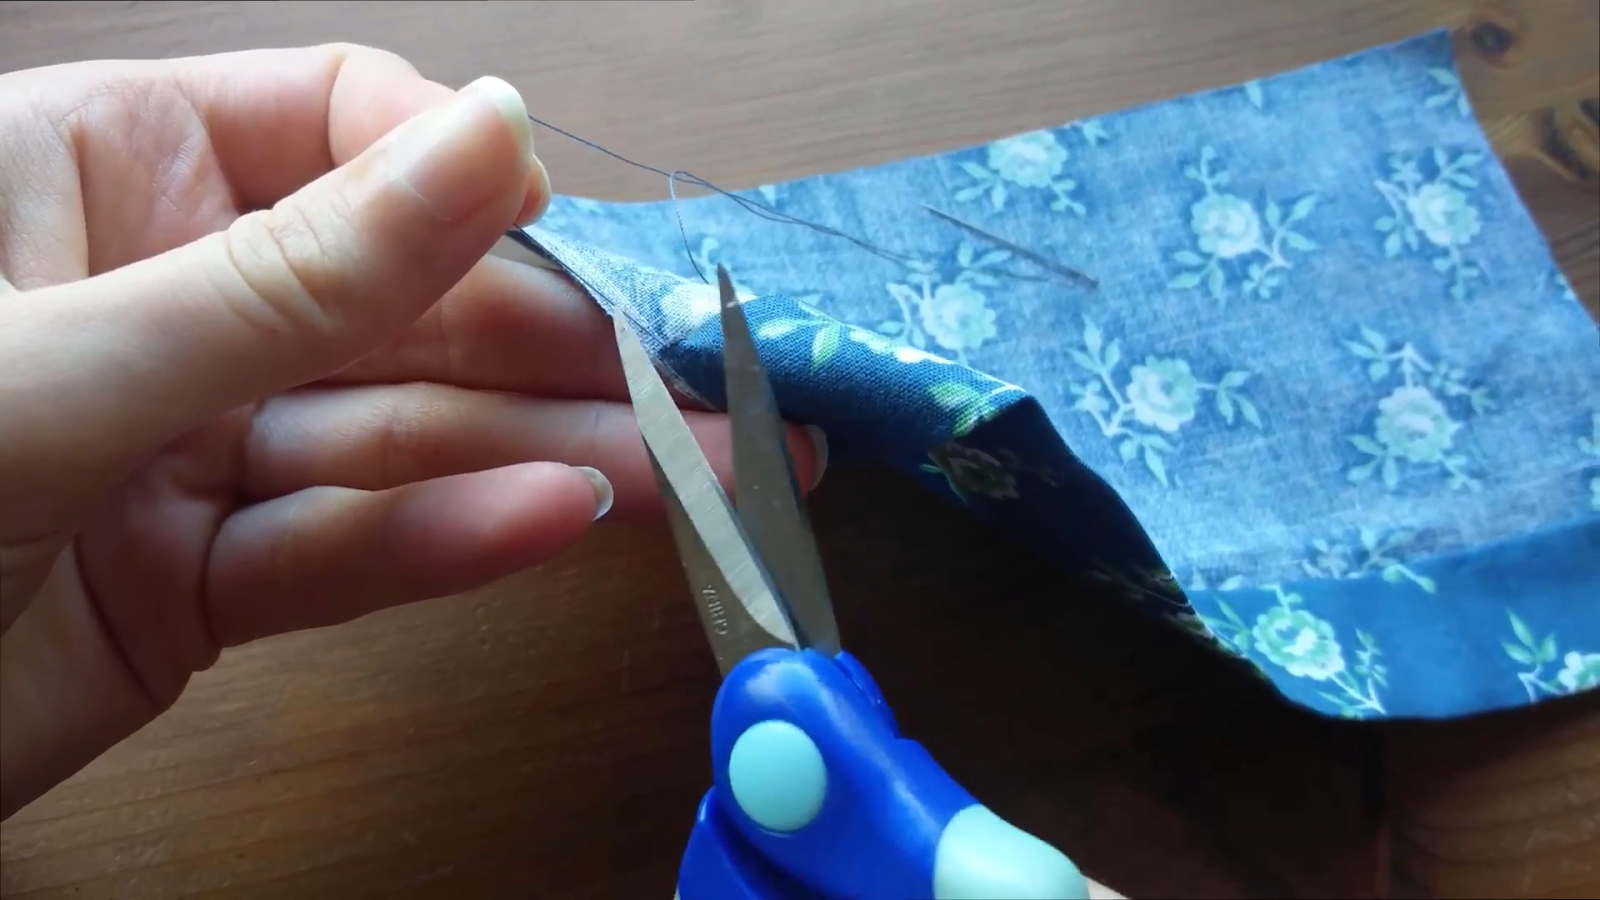
Finishing off
Once the hem is complete we need to finish off our thread in exactly the same way that we started off by working three small back stitches on top of each other only through the folded fabric of the hem not the main garment.
Once the back stitches are in place cut the thread and the hem is complete!
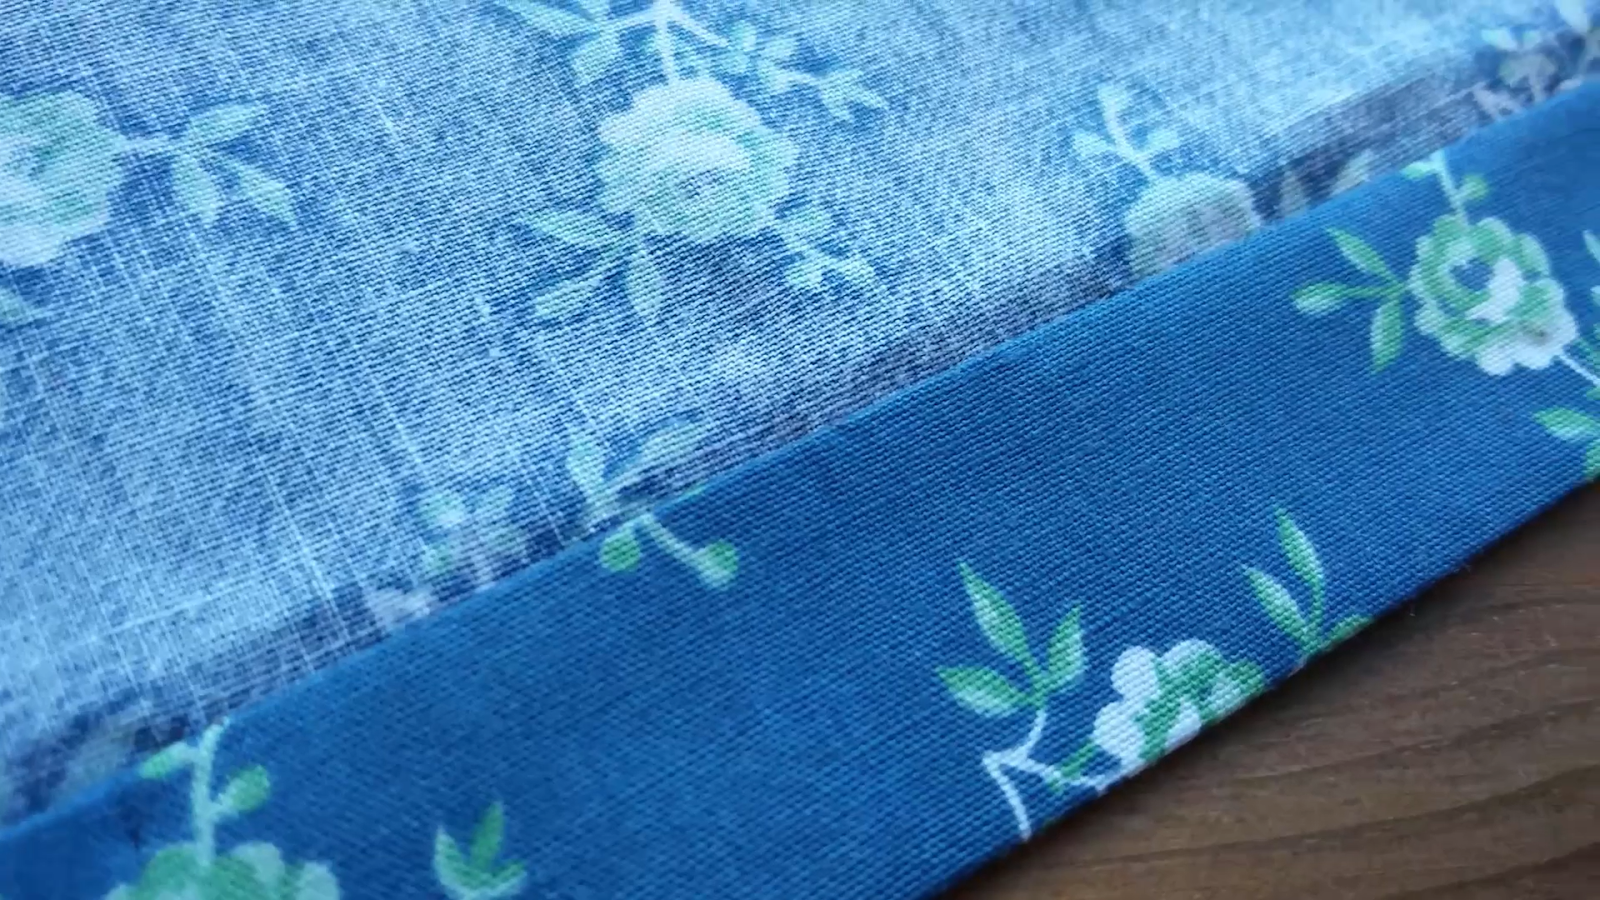
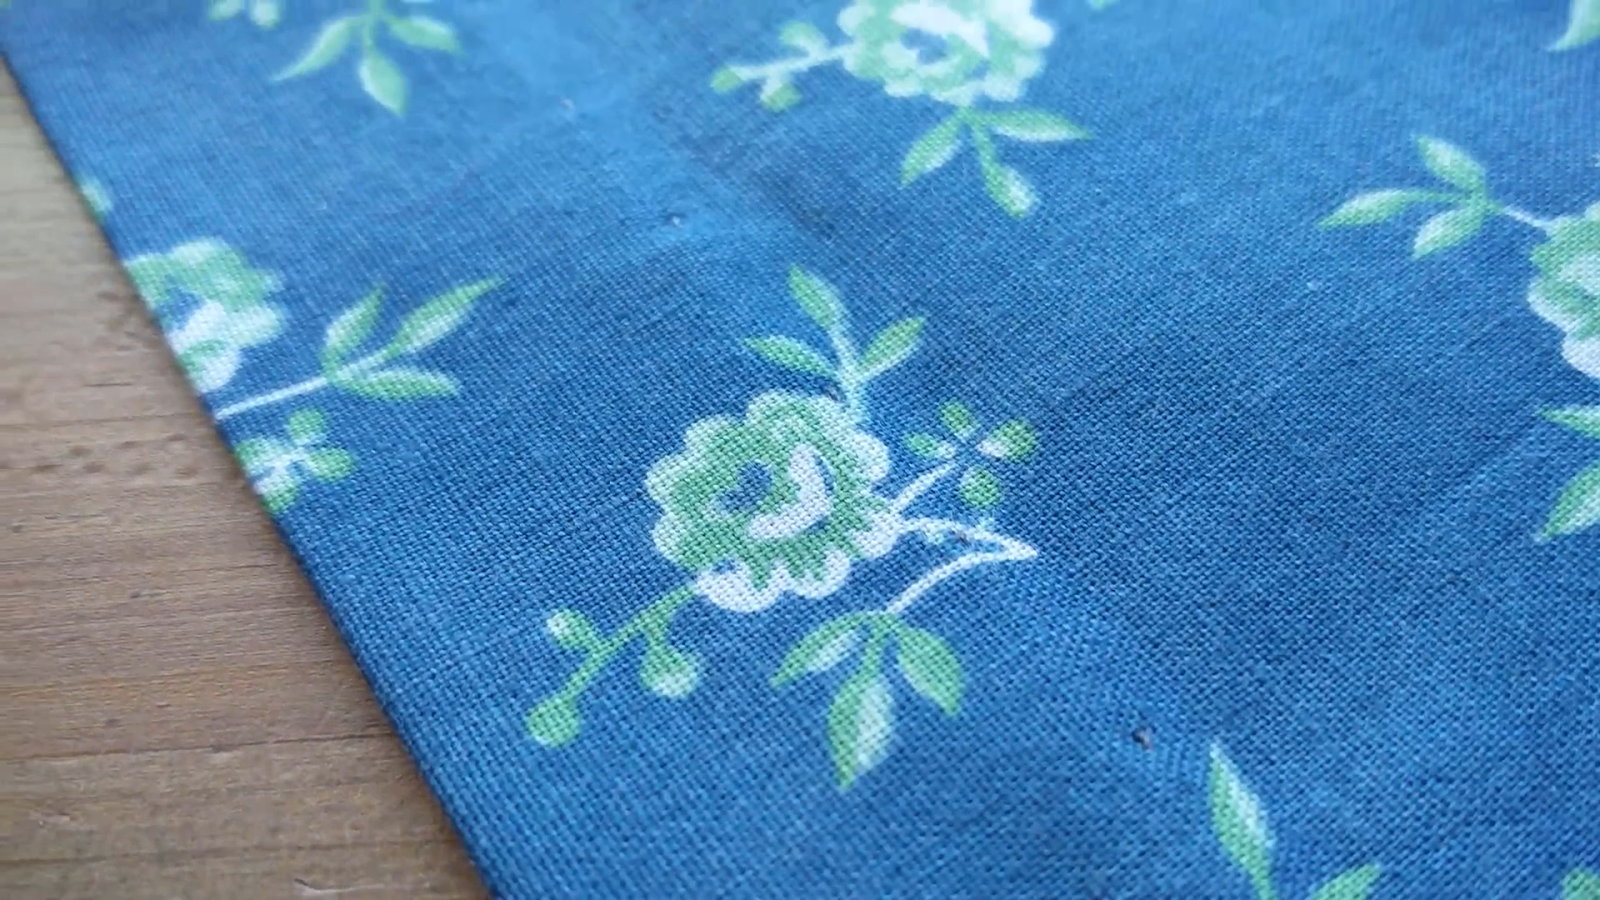
The Finished Slip Stitch Hem
The great thing about this stitch, apart from the fact it is quick and easy to master, is that it is almost invisible from every angle creating a really neat finish to our hem.
Hand sewing a hem gives a really professional finish which is perfect for your special hand made garments.
I hope you found this tutorial useful. If you’d rather hem your clothes with your sewing machine why not check out my Blind Hem Stitch Tutorial?
Stay tuned for more tutorials of this kind coming up on the blog and if you’re interested in more sewing videos make sure to subscribe to my Youtube channel!
Until next time,
Claude x
P.S. You can pin this post for later using the images below.

